1.5.2 Setup an Academy
Lets get you set up your academy where your admin can assign students, administer tests.
In this tutorial, you'll
Create an Academy
Access academy settings
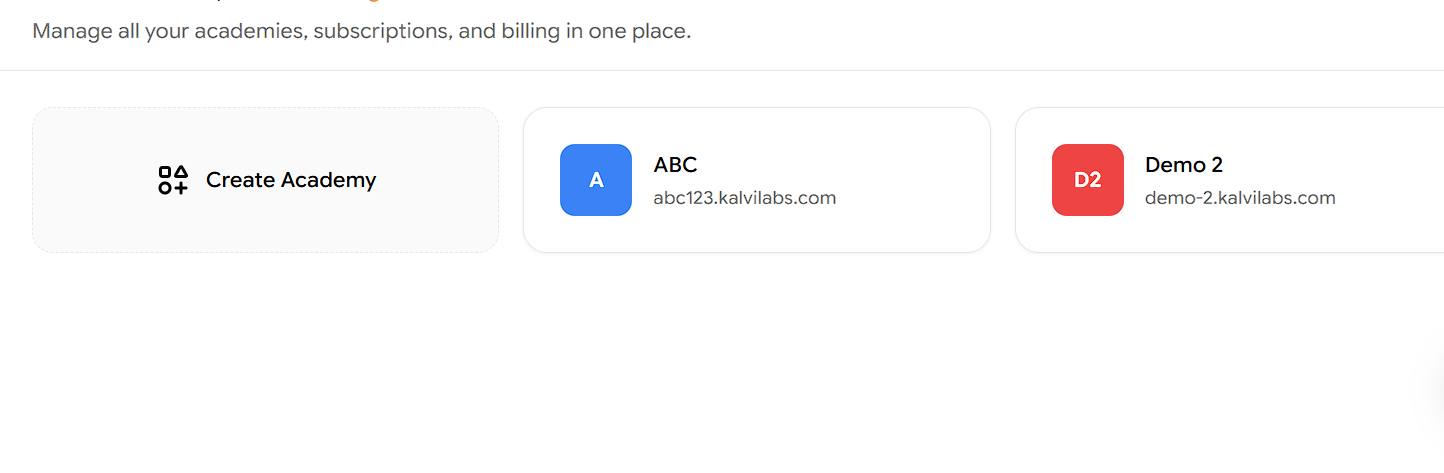
Switch between multiple Academy
Create an Academy
If you've already signed up on the console app as a trial user, you will already have your first Academy app setup as process of automation. This tutorial shows you how you can create an Academy from scratch.
Don't need another Academy right now? You can skip to the next section
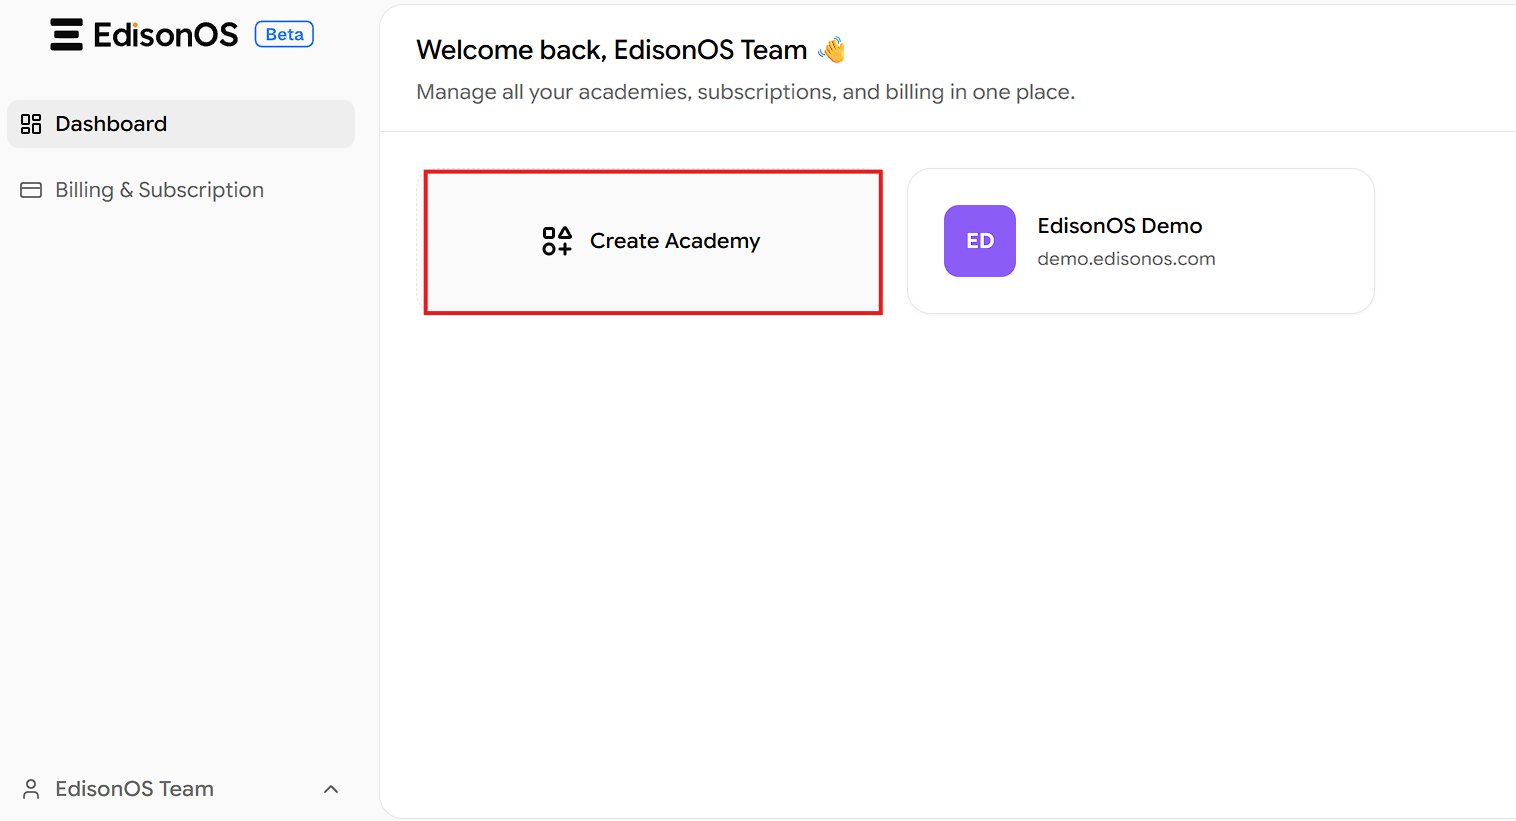
Click "Create New Academy"
Type Academy Name
Enter a name that's familiar and recognizable for your team.
Usually your company name works best. You can always change this later in settings.
"Your URL is auto-generated".
Click on "Create Academy" to finalize on creating your academy.
This URL choice can be changed later in settings or you can add a custom domain
Click on "Create Academy" to finalize on creating your academy.
Access Academy Settings
In the console app, you'll see all the academies you've created. To open a specific academy's settings, the Academy Owner needs to clicks the Profile Name, then selects Academy Settings.
Once inside Settings, you can configure the following:
Academy Settings
Academy Settings is organized into tabs. The General tab holds Academy Identity and Experience Defaults, and the Branding tab holds Visual Identity.
Academy Identity
These details represent your academy across student-facing pages and communications.
Academy Name — Shown to students and parents across the platform.
Communication Email — Used for system notifications and student communications.
Experience Defaults
Set default preferences for your academy.
Timezone - Select a timezone for your academy.
This timezone will be automatically applied to all students enrolled after this change. Students already enrolled will keep their current timezone and can change it from their own settings.
Visual Identity
Customize how your academy appears to students.
Uploaded Logo — Recommended size: 250 × 100 px. PNG or SVG preferred.
Uploaded Favicon — Recommended size: 32 × 32 px. Transparent background preferred.
Once you've configured everything, click Save Changes to apply.
Video will be embed here